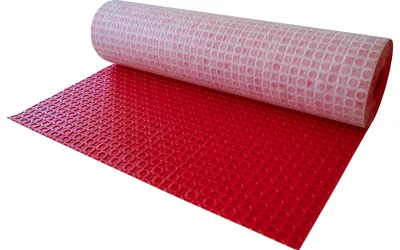
Water damage is a homeowner’s nightmare, leading to costly repairs, mold growth, and compromised structural integrity. While roofs and basements often get the most attention, windows are another critical area where water intrusion can occur. To keep your living space safe and dry, it’s essential to take proactive steps in sealing out moisture. One of the most reliable solutions is to install Window Flashing Tape during window installation or renovation. This specialized tape creates a resilient barrier, ensuring water stays where it belongs, outside your home.
Why Water Intrusion Happens Around Windows
Windows are naturally vulnerable points in a building’s envelope. Even the smallest gaps around the frame can allow rainwater or melting snow to seep inside. Over time, this moisture can damage insulation, rot wooden frames, and even affect the drywall and flooring. Factors like poor installation, aging caulk, and shifting building materials can all contribute to these vulnerabilities.
The Role of Flashing Tape in Preventing Water Damage
Flashing tape acts as a waterproof membrane, sealing the joints and seams around your window. Unlike traditional caulking or sealants, it provides a flexible, long-lasting barrier that can expand and contract with temperature changes. Here’s how flashing tape helps:
• Prevents leaks: By covering gaps and overlaps, it stops water from finding its way indoors.
• Protects against mold: Keeping moisture out helps prevent mold and mildew growth.
• Extends window life: Proper sealing reduces the risk of rot and corrosion, increasing the lifespan of your windows.
Steps to Use Window Flashing Tape Effectively
Proper installation is key to maximizing the benefits of flashing tape. Follow these steps for optimal results:
1. Prepare the Surface: Ensure the window opening is clean, dry, and free of dust or debris. Any moisture or dirt can compromise adhesion.
2. Apply Sill Flashing: Start at the bottom of the window opening. Cut a piece of tape long enough to extend a few inches beyond the width of the window. Firmly press it in place, making sure it covers the entire sill and laps up the sides slightly.
3. Install the Window: Place the window into the opening, ensuring it is level and securely fixed.
4. Apply Side Flashing: Run strips of tape vertically along each side of the window, overlapping the edges of the sill tape for a continuous seal.
5. Finish with Head Flashing: Finally, place a piece of tape across the top of the window, overlapping the side pieces for complete coverage.
6. Press and Seal: Smooth out any air bubbles or wrinkles, and ensure all tape edges are firmly adhered.
Tips for Best Results
• Always follow the manufacturer’s instructions for the specific product you choose.
• Use a roller or squeegee to ensure maximum adhesion and eliminate trapped air.
• Overlap all seams by at least two inches to prevent gaps.
• Inspect periodically and reapply tape if you notice peeling or wear.
The Value of Proper Window Sealing
Taking the time to install flashing tape correctly can save you from significant headaches down the road. Not only does it guard against costly repairs, but it also contributes to a more energy-efficient and comfortable home. A tight seal around your windows helps maintain indoor temperatures and reduces strain on your heating and cooling systems.
Protecting your home from water damage is an investment in your property’s longevity and your family’s well-being. By using window flashing tape effectively, you can rest easy knowing your windows are fortified against the elements, providing peace of mind through every season.